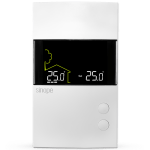
Install your smart electrical load controller
Proceed as follows to install your load controller
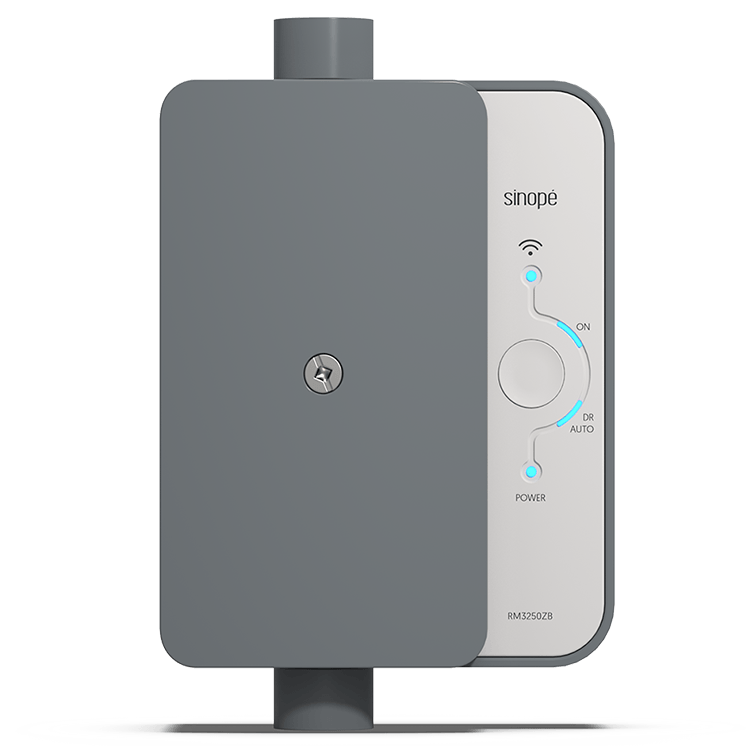
Install your smart electrical load controller
Proceed as follows to install your load controller
Installing your smart
load controller
Make sure you have all the items that are included in the box
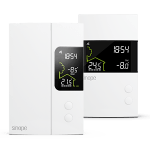
- Smart electrical load controller
- Installation guide – French version
- Installation guide – English version
- Template
- 2 screws

Follow the installation steps
Here is a detailed step-by-step guide that will take you through the installation of your smart load controller.
The installation of this controller should be made by a certified electrician and must be installed in conformity with the national and local Electrical Codes.
The electrical load controller is designed for indoor use only.
1
Make sure to turn off the circuit from the electrical panel to avoid any risk of electric shock.
2
Secure the template (included) behind the wire.
Mark the anchorage holes on the wall and the positions where to cut and unsheathe on the wire.
3
Cut and unsheathe the wires according to the size indicated in the installation template.
Fix the controller to the wall.
4
Insert each wire in its terminal and firmly tighten the wire connectors for a secure connection. A loose connection can be a fire hazard.
5
Secure the cable with the clamp. The clamp must lean against the cable’s outer sheath.
6
Close the cover and power up the controller.
Note: The “Power” indicator will lit. If not, verify the position of the wiring selection switch.
Look for more topics
You will find below the most common issues you may encounter.
If you still need help, contact Sinopé technical support.
