Proceed as follows to install your smart water valve
Install the smart water valve
Proceed as follows to install your smart water valve
Installing your device to your water inlet
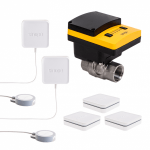
Make sure you have all the items that are included in the box
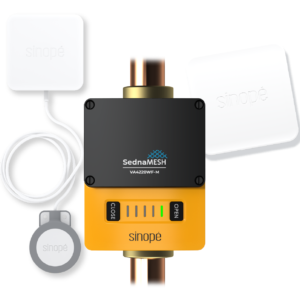
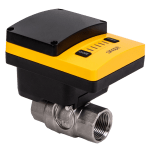
Smart water valve
Installation guide – French version
Installation guide – English version
1 AC power adaptor (4.9 ft)
Follow the installation steps
Here is a detailed step-by-step guide that will take you through the installation of your smart water valve.
The installation of this valve should be performed by a certified professional in conformity with local and national construction codes.
The valve closes with sufficient force to cut a finger.
ALWAYS keep your fingers away from the ball valve.
1
Make sure the valve is in the « OPEN » position before proceeding with the installation.
Separate the controller from the ball valve:
Remove the pin
Tilt the controller back and slide it backward
2
Close the main water supply. Open the hot and cold faucets near the main water supply to reduce the water pressure.
Remove the valve safety caps.
3
Install the smart water valve just downstream of the main water shut-off valve. Depending on your plumbing, additional fittings may be required (not included).
4
Before replacing the controller, make sure that both the valve and controller are in the « OPEN » position.
5
Put the controller back in place and insert the pin to secure the controller to the valve.
6
Power the valve using the AC adapter.
To add an emergency power supply in the event of a power failure, insert 4 AAA lithium batteries (not included).
Do not use alkaline batteries. They can cause irreparable damage to the valve.
Important: Do not insert the batteries before the valve is installed to your main water supply and powered by the supplied adapter.
7
Open the main water supply to make sure there are no leaks.
Get to know your smart water valve
You can now start configuring your smart water valve.