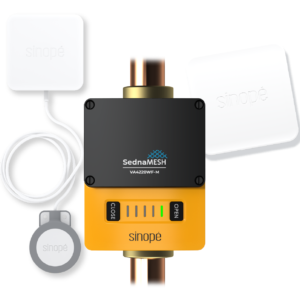
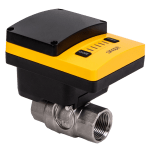
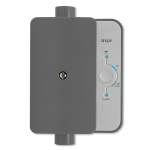
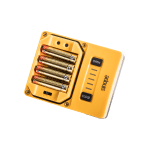
Bouton A : Sélectionner le réseau Bouton B : Jumeler les appareils compatibles avec la valve
Commutateur de sélection
Selection of operating mode
The smart water valve offers three operating modes:
Option 1 – Wi-Fi Leak Supervisor Mode
Option 2 – Remote Controllable Valve Mode
Option 3 – Zigbee Network Mode
Option 1 - Wi-Fi Leak Supervisor Mode
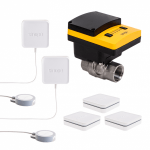
In « Leak Supervisor » mode, the leak detectors (not included) send a closing signal to the valve to automatically shut off the main water supply as soon as a leak is detected.
A notification will be sent by email or SMS advising of the source of the leak and the valve closure.
To configure your valve in «Wi-Fi Leak Supervisor» mode, you must:
1
Download the Sinopé Water Leak Protection app on your device from the AppStore or Google Play.
2
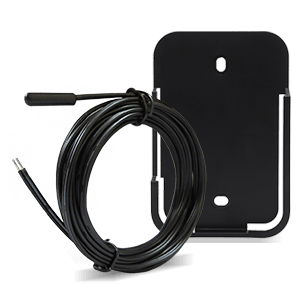
Remove the valve cover by unscrewing the 4 screws with a flat screwdriver.
Make sure that the mode switch is set to « 1 ».
3
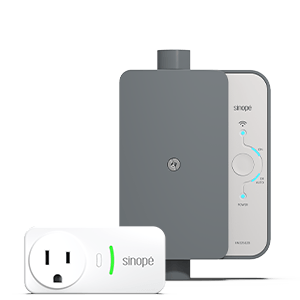
Connect the valve to an electrical outlet, using the supplied adapter, near where it will be installed. By doing so, you will validate the range of the Wi-Fi communication between the valve and your network.
4
Open the app and log into your Sinopé Water Leak Protection account or create an account.
If you already have a Neviweb account, use the same login information to configure and control the valve.
5
In the menu on the right, choose « Add a device » and follow the steps specified by the app.
6
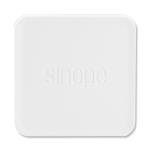
Connect your Sinopé smart water leak detectors by referring to the Sinopé water leak detector installation guide.
The « remote controllable valve » mode allows controlling the valve’s opening and closing remotely via the local Wi-Fi network. To use this mode, you must first download the Sinopé Water Leak Protection app and follow the instructions to add the device to the application.
Note: Mode 2 does not supervise water leaks.
Option 3 - Zigbee Network Mode
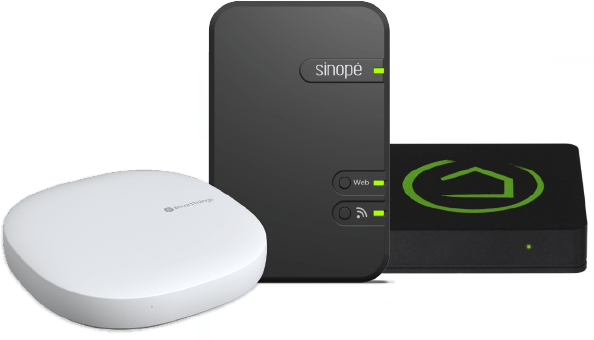
The « Zigbee network » mode allows you to remotely control the opening and closing of the valve through your Zigbee compatible gateway.
To configure your valve in « Zigbee Network » mode, you must:
1
To connect the valve to your Zigbee compatible system, refer to its instruction manual.
2
Set the mode switch to « 3 ».
3
Connect the valve to an electrical outlet, using the supplied adapter, near where it will be installed. By doing so, you will validate the range of the Zigbee communication between the valve and your network.
4
Press the « A » button to associate the valve with the Zigbee network.
Light
Status
Green light blinks
Device is connecting
Green light lit for 10 s
Successful connection
Red light blinks
Connection has failed
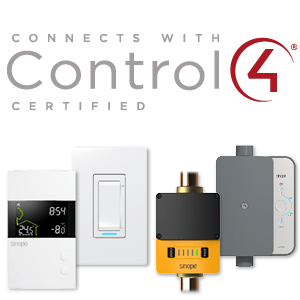
Add your smart water valve to your favorite platform
Your smart water valve integrates perfectly with several Zigbee platforms. See how adding it is a breeze.