Proceed as follows to install your smart water leak detector
Install the smart water leak detector
Proceed as follows to install your smart water leak detector
Installing your device near risky areas
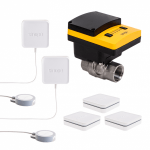
Make sure you have all the items that are included in the box
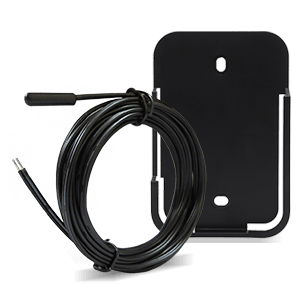
Water leak detector
Installation guide – French version
Installation guide – English version
2 AAA lithium batteries
Place your detector near risky areas
Dishwasher Water heater Washing machine Drain pump
Bathtub Sink Toilet Etc.
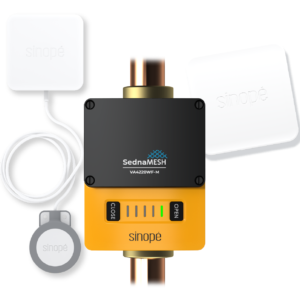
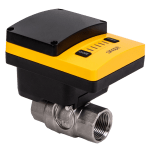
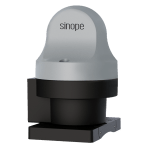
Connection to Sinopé's smart water valve
Here is a detailed step-by-step guide that will take you through the connection of your smart water leak detector with the Sinopé smart water valve.
1
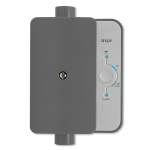
The mode switch of the valve must be in position « 1 ». The valve must be plugged into a power outlet.
2
Press the « B » button to open the network connectivity session for the detectors. The indicator lights will light up in sequence to indicate that the session is active.
3
Connect the detector to the network from its installation location. This will ensure it is within range of RF signal of the valve. Remove the cover and insert the batteries.
4
Press the detector’s connection button.
Light
Status
Green light blinks
Device is connecting
Green light lit for 10 s
Successful connection
Red light blinks
Connection has failed
5
Press the « B » button on the valve to close the connectivity session.
The connection can be verified at any time by pressing the water leak detector’s button. The indicator light will light up in green for 10 seconds if the unit is connected.
Connection to a Zigbee compatible system
It is also possible to connect your water leak detector to a Zigbee compatible system.