


[detecteur_de_langue]
- Docs Neviweb
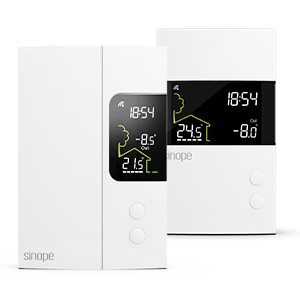
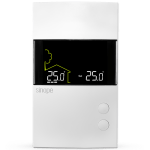
- Configure your thermostat TH1400ZB


When you have multiple thermostats in one location, it can be handy to rename your thermostat or assign it to a particular room.
This function can also be very useful if you use voice assistants like Google Assistant or Alexa.
To do this, you must access the thermostat settings by pressing the ![]() icon on the thermostat screen.
icon on the thermostat screen.
Ce site est offert dans d'autre langue. Veuillez choisir votre préférence.